

Ask an OT | Self Care Dressing Skills, Wet-Dry-Try Adaptations, and Hand Dominance


Ask an OT is a monthly series answering questions that we receive from educators, parents, and OTs, like you! This month we're exploring developmentally appropriate tips and best practices for teaching children to dress independently, ways to practice the Wet-Dry-Try activity with or without the use of chalk, and strategies for encouraging hand dominance in young children.
Have your own questions for our OTs? Send us a message on Facebook or Instagram!
Watch the full Ask an OT episode here and continue reading below for more advice on this month's topics.
Question #1: When do kids learn to dress themselves? I would appreciate any help to make morning dressing routines less of a struggle.
“Button your pants… get your shoes on…. zip up your coat… HURRY UP!”
Sound familiar? If you are like most caregivers, you are probably wondering when will your child eventually learn to get dressed on their own independently. The answer is over time, coupled with plenty of opportunities to practice, helpful instructional, and appropriate expectations. By around kindergarten age, a child should be able to self dress in basic clothing without taking into account tricky shoes or stubborn zippers.
Self dressing is a self-care skill that incorporates the integration of fine-motor skills, range of motion, strength, coordination, balance, spatial awareness, problem-solving, sequencing, body awareness, and more. For a child, being able to dress independently is a meaningful activity of daily living, which increases a child’s self-esteem and even helps with potty training.
Knowing that dressing includes many underlying skills, it is no surprise that it takes years for children to learn to dress themselves.
|
AGE |
DEVELOPMENTAL DRESSING SKILLS MILESTONES |
|
One Year Old |
|
|
Two Years Old |
|
|
Two-and-a-half Years Old |
|
|
Three Years Old |
|
|
Three-and-a-half years old |
|
|
Four years old |
|
|
Five years old |
|
|
Six years old |
|
* This chart was adapted from CHOC Children’s Hospital
Tips to help a child to dress independently:
-
Allow plenty of time for dressing practice – Try not to practice dressing during the hectic morning routine. Instead, practice when a caregiver can patiently assist and teach the child, allowing for ample time to practice at their own pace.
-
Teach the last step first – Let your child have success with the last dressing step, for example pulling the shirt down over their belly without any help. By letting the child “finish” the task alone they will feel pride and success.
-
Sit down – It is easier for a child to put on their underwear or pants while seated on the floor.
-
Put clothes on in the correct direction – Teach your child to first locate the tag and then lay it on the floor front-side down so that they can put it on correctly.
-
Put on socks – First, gather socks using a “thumbs up and in” method and then “scrunch, scrunch, scrunch” before the child tries to put their foot in the sock. Ankle socks are easier for a child to put on independently.
-
Easy hacks for shoes and pants – Velcro shoes and elastic waistband pants are your child’s best friend for achieving dressing independence!
-
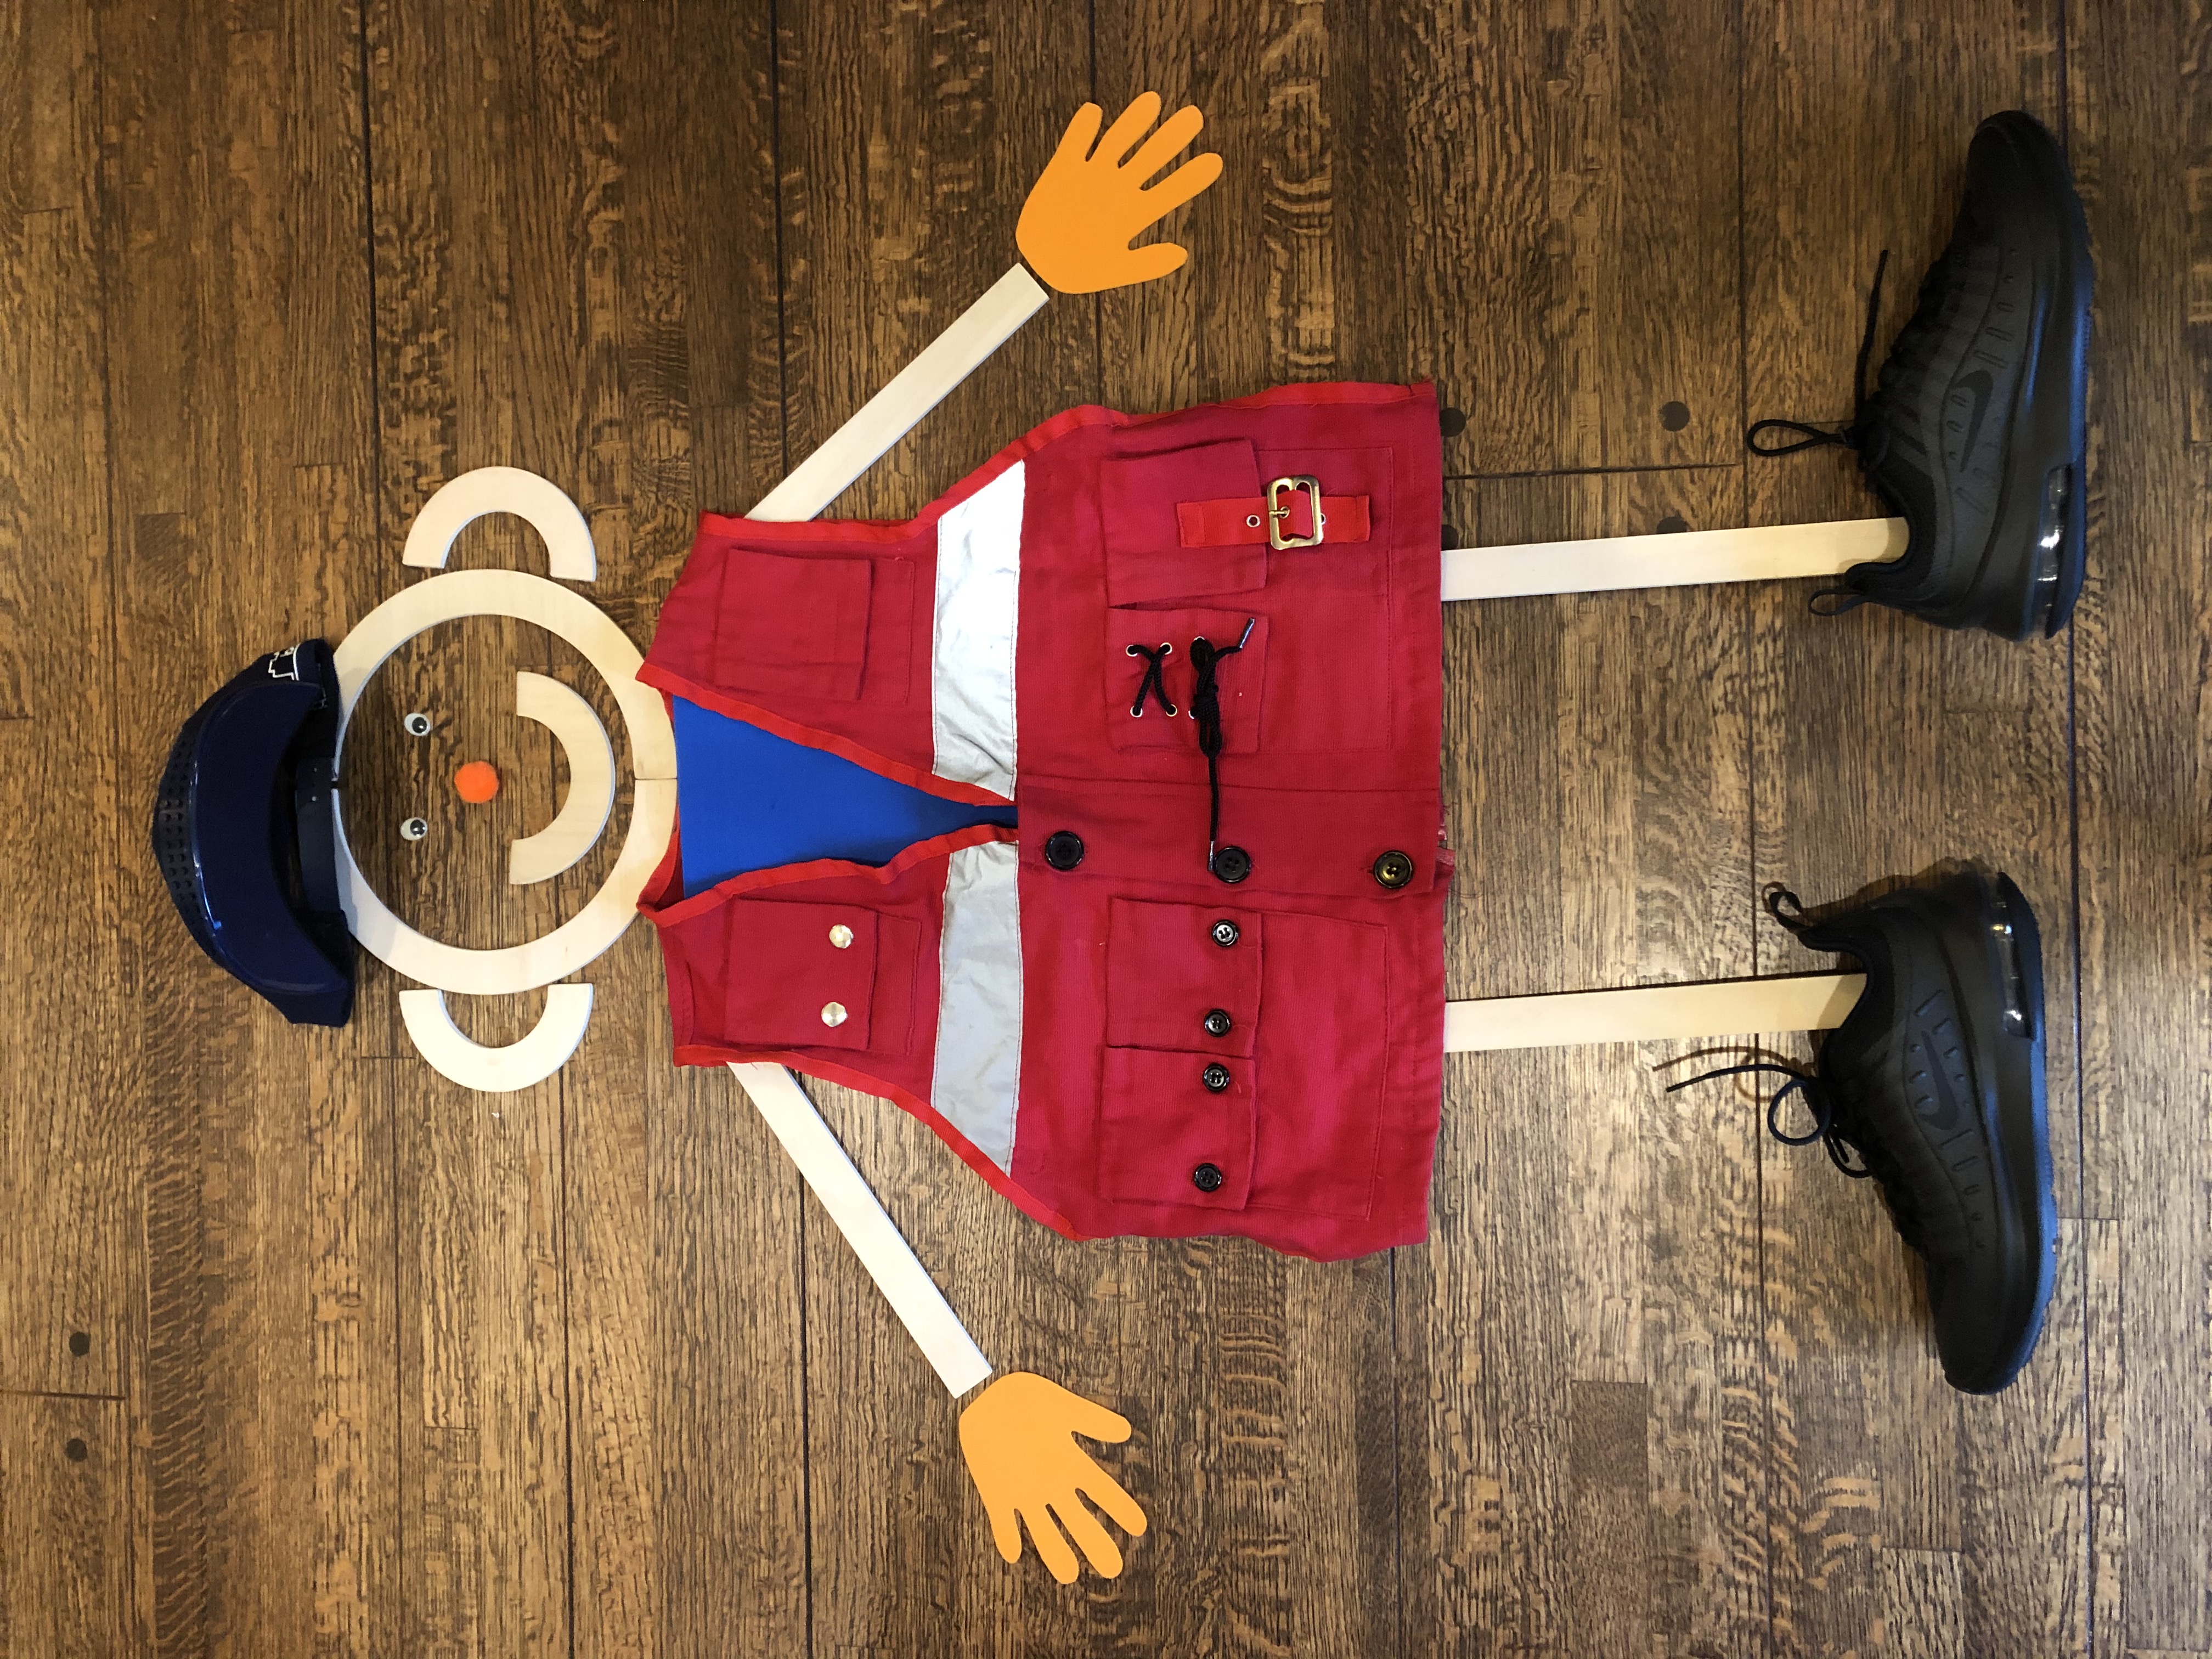
Practice zippers and buttons on Mat Man – It is easier to practice using clothing fasteners off of your body rather than on your body, so use Mat Man to practice zipping and buttoning.
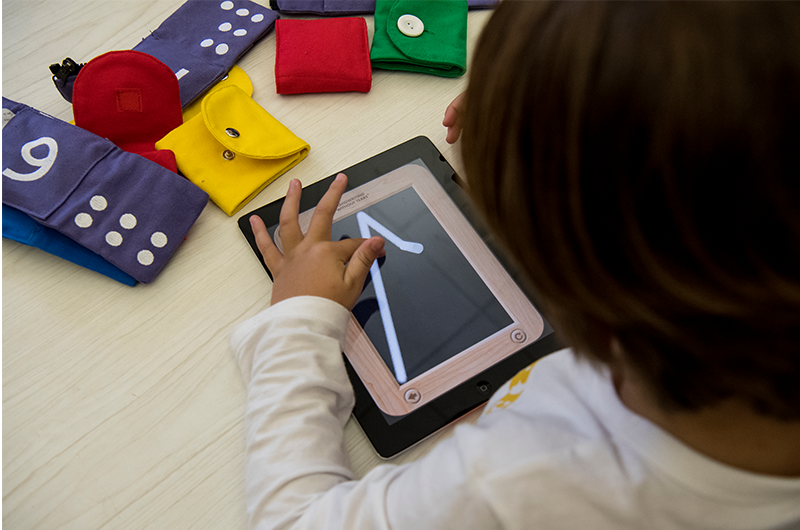
- Tag Bags – Tag Bags® offer children with a multitude of fasteners to practice using buttons, zippers, Velcro, snaps, and buckles.
-
Play dress up – dressing up like a princess or a firefighter is a fun way to work on dressing and clothing fasteners during playtime.
-
Shoelace tying – color a shoelace with a marker so that half is white and half is black. This will help the child to better see how to tie the lace. Stiffer laces are easier than floppy laces, so that the “bunny loop” does not flop down when tying.

As a parent, you will instantly know when your child has met their self-dressing goals. Turning “hurry up and get dressed” into “I did it myself” can be rewarding and fun.
Question #2: I love the idea of Wet-Dry-Try, but I HATE everything about chalk. How can I still do this multisensory activity with my students?
Wet-Dry-Try is a favorite Learning Without Tears manipulative that makes learning fun and memorable through sensory opportunities. It uses a slate, a one-inch piece of chalk, a tiny wet sponge, and a small piece of paper towel.
Wet-Dry-Try teaches and reinforces the correct formation of capital letters and numbers on the Slate Chalkboard and lowercase letters and cursive letters on the Blackboard with Double Lines. It appeals to different learning styles in that it is visually simple, uses consistent language, offers tactile feedback including the resistance of the chalk and the wet of the sponge, and uses kinesthetic large and consistent movements to learn letter formation.
Despite the many benefits, you can continue to be at a standstill with the product if you or your students have tactile defensiveness to chalk.
-
“I hate touching chalk” – To circumvent touching chalk try wrapping the chalk with blue tape so that you only hold the blue tape. Then put a pencil cap eraser on the chalk bit and only grip the pencil cap eraser. You can even purchase an old-fashioned chalk holder.
-
“I hate the sound of the chalk screeching on the chalkboard” – Dip the chalk in water (dip it quickly and don’t drown it in the water) and then the chalk will glide smoothly on the chalkboard without the auditory feedback.
-
“I hate chalk dust” – Dipping the chalk in water will decrease the amount of chalk dust. Also, try using dust-free chalk.
Are there any adaptation tips to do this activity without the use of chalk?
-
Use the Wet-Dry-Try App – this game-based iPad activity does all the steps of Wet-Dry-Try without the use of the actual hands-on manipulatives. If you still can’t stand the sound effects of the chalk strokes on the electronic slate, you can go into settings and turn off these sounds.
-
Adapt a whiteboard – A whiteboard does not have all the multisensory benefits, but you can do a similar activity using Dry-Erase Crayons. Dry-Erase Crayons are preferred over Dry-Erase Markers because they provide more tactile feedback coupled with force and gradation of pressure. Don’t forget to break the Dry-Erase Crayons to 1 inch in size to work on grip! To erase, use a sponge cube, the child’s finger, or even a Magic Eraser cut into the size of a small cube.
-
Swap out the chalk - When using the slate, substitute the chalk with Chalkboard specific colored pencils, crayons, or markers.
If you really want to work on diminishing your tactile defensiveness, an OT evaluation can provide you with firm pressure and proprioceptive strategies, such as weighted blankets and heavy work activities both prior to and during a tactile averse activity to decrease your overall defensiveness to chalk.
Question #3: I have a 4.5-year old that is writing and drawing with both left and right hands—both equally and competently. Now what?
What is hand dominance?
Hand dominance is using the preferred hand to perform tasks including handwriting and cutting with scissors. Hand dominance begins to emerge anywhere between two to four years old, but it can take up to six years old for a clear hand preference to be established.
Is my child ambidextrous?
An ambidextrous individual can use either hand equally well for fine motor tasks. Ambidexterity is extremely uncommon but is something that parents may label their child who is switching hands or using both hands interchangeably during an activity.
Why does a child struggle with hand dominance?
A child may struggle with hand dominance due to decreased hand strength resulting in the child beginning a fine motor task with their dominant hand and then switching to their other hand when the dominant hand fatigues. Other children may switch hands due to a struggle with reaching across the middle of their body, called midline crossing, therefore picking up objects on their left side with their left hand and likewise picking up objects placed on their right side with their right hand.
Any tips to determine or encourage hand dominance?
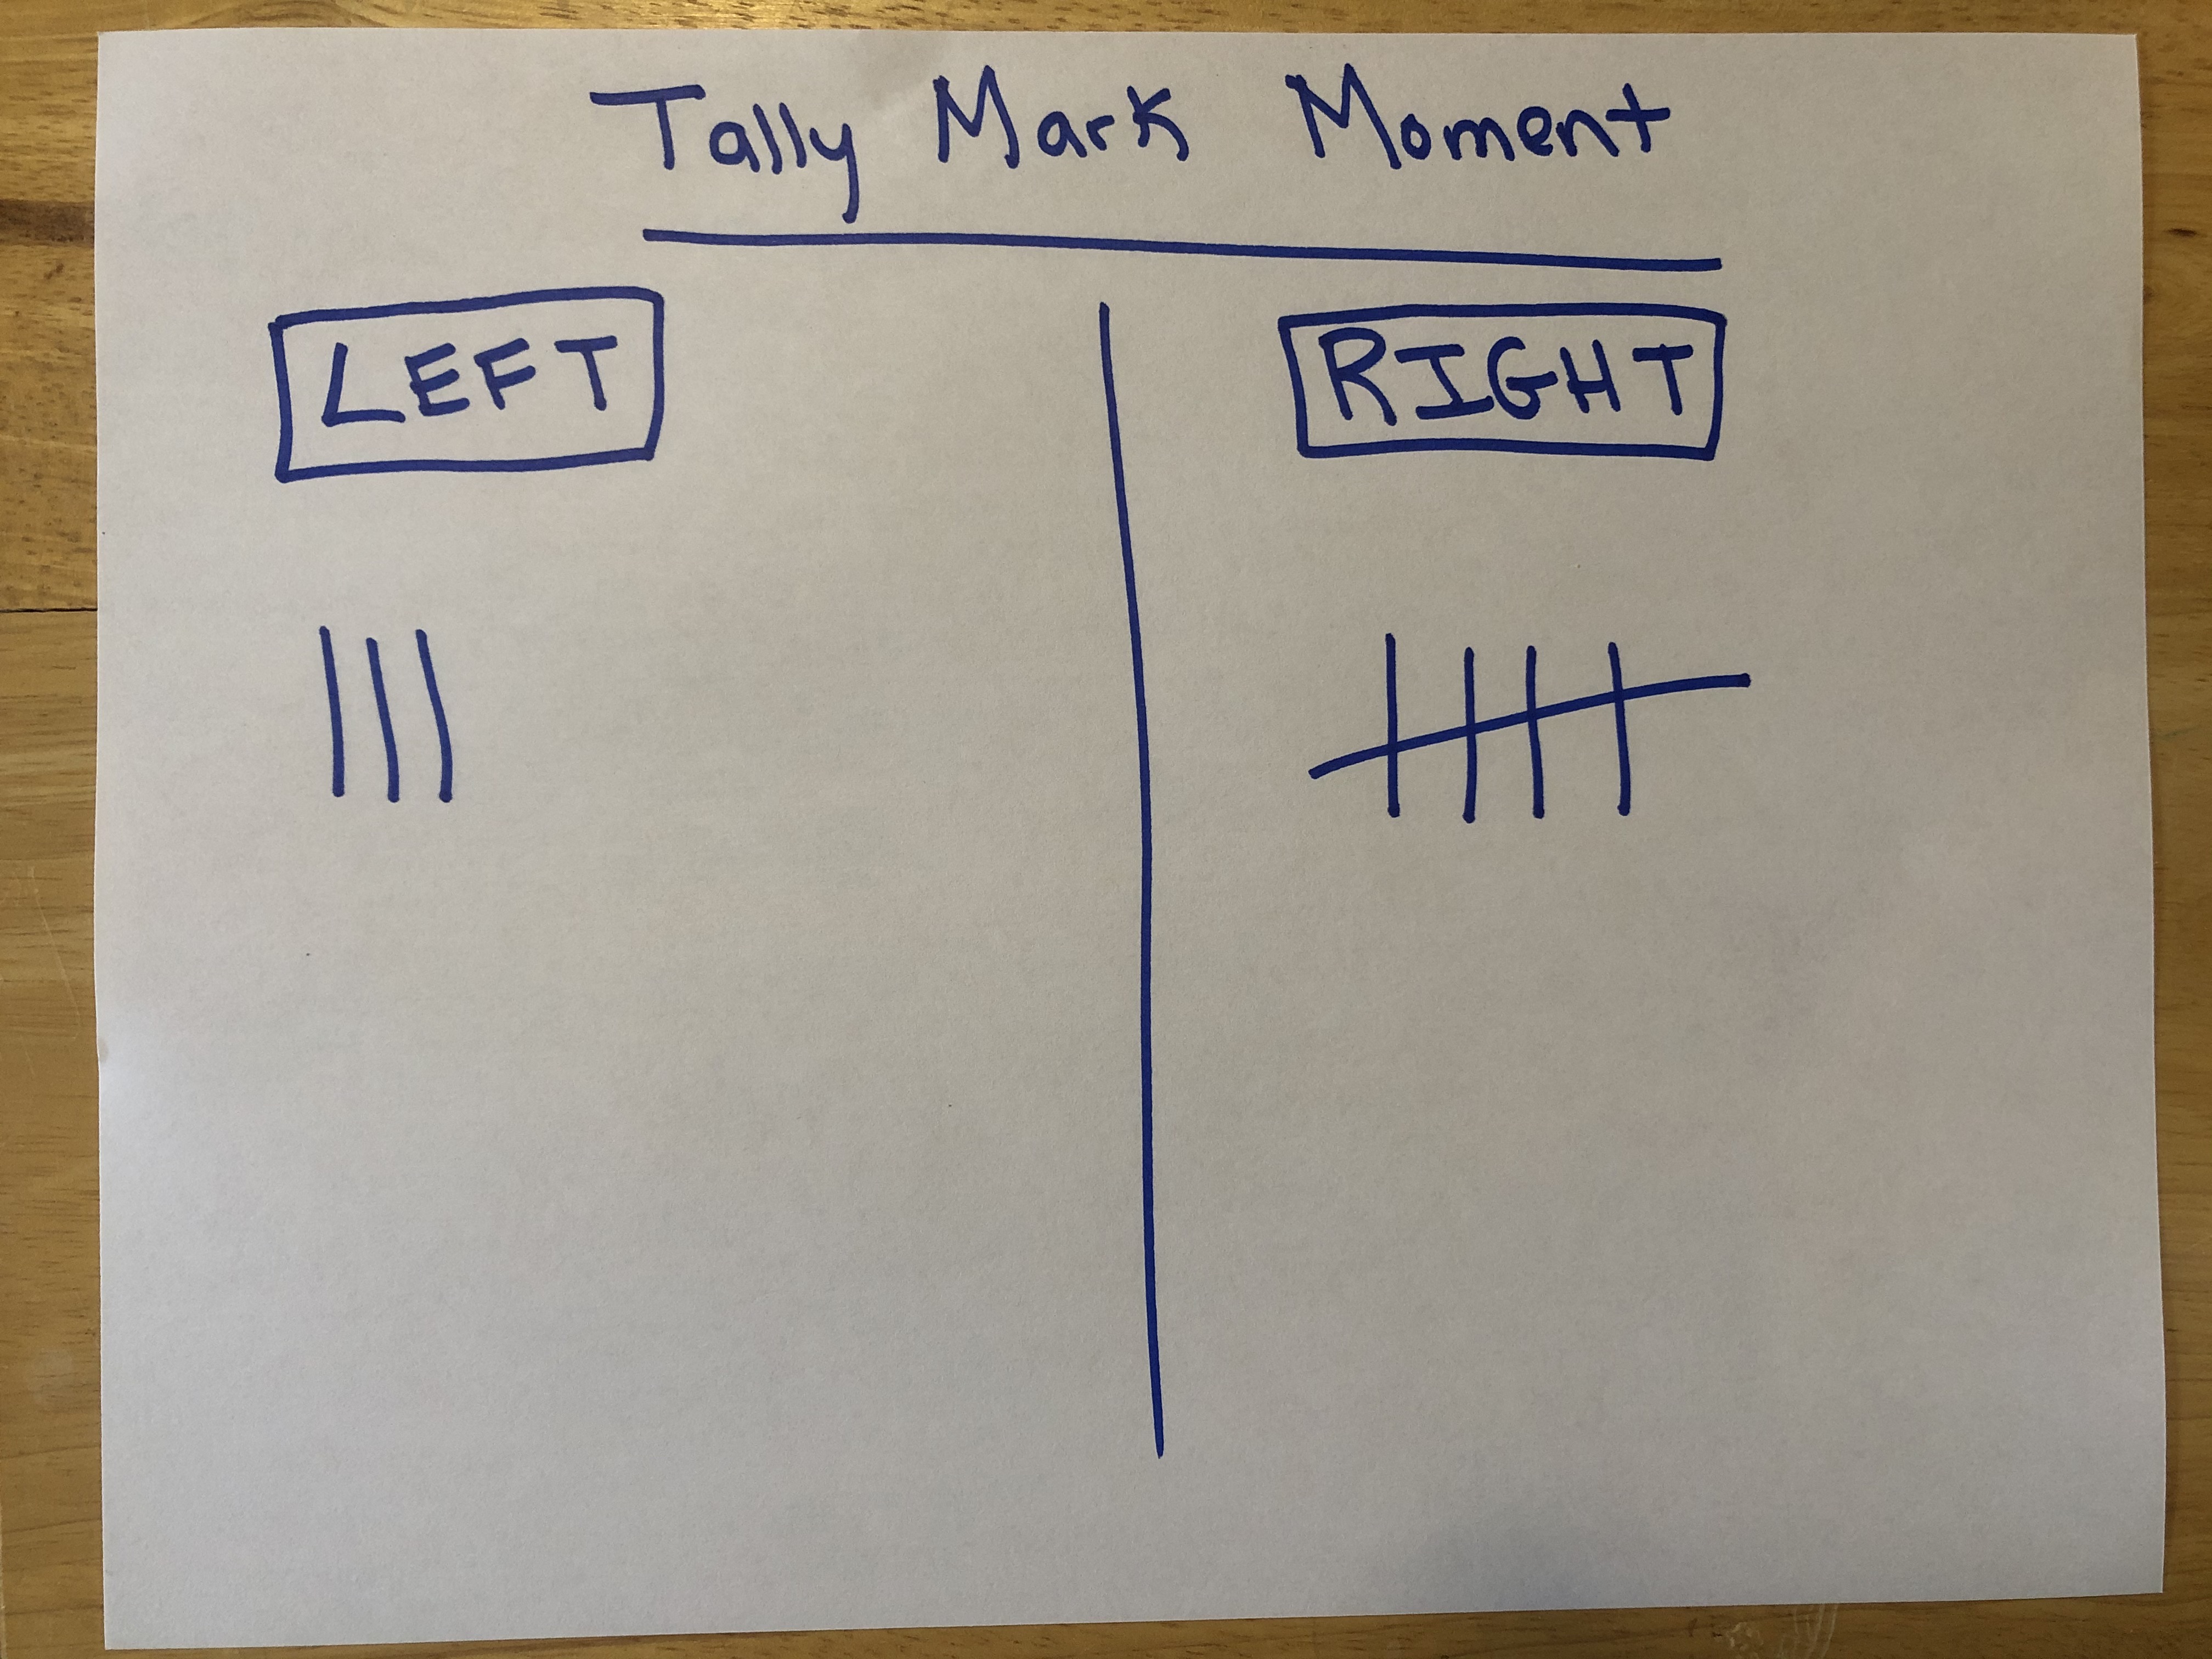
It is important to not force a child to decide which hand will be dominant, but rather offer a variety of opportunities to use both hands during play and daily activities. During fine motor activities make sure to observe which hand the child uses to “do” the work versus which hand is the “helper hand” to stabilize the object. It is imperative that you place all objects at the child’s belly button, the body’s midline so that the child can spontaneously choose the preferred hand to grasp and manipulate the object. Lastly, use a “tally mark moment” to easily document which hand the child chooses to initially during each task.
Below are some ideas to assist with determining hand dominance:
-
Hands behind your back – Have the child place their hands behind their back and then offer the desired object.
-
Kitchen tasks – Set up cooking opportunities to allow for stirring, pouring, and scooping and observe which hand does the action (the dominant hand) and which hand stabilizes the object (the non-dominant hand).
-
Fine motor activities - During tabletop tasks see which hand holds the crayon, peels off the stickers, laces the lacing cards, place beads on a string or holds scissors.
-
Tap Tap Tap – Use our Wood Pieces during the Tap Tap Tap song and observe which hand does the tapping.
-
Ball games – During ball activities pay attention to the throwing hand and kicking foot, however, be cautious because some lefties will use their right arm or right leg to throw and kick a ball.
-
Play the pretend game – Ask the child to pretend to brush their teeth or brush their hair. By using an imaginary toothbrush or hairbrush the child does not have to focus on fine motor skills of holding the object and rather you can simply observe which hand is chosen to do the make-believe task.
-
Play with puppets – Observe which hand the child uses when playing with a puppet.
-
Construction play – When building with small blocks or Legos and when using child-safe construction tools, take note which hand is preferred.
After trying several of these activities and tracking tally marks for a few weeks, you may be able to conclude which hand the four to six-year-old child prefers to use. Mention the hand preference to the child, and encourage the use of that hand for refined fine motor activities such as handwriting in order to have greater handwriting success.
Check out our previous "Ask an OT" articles.
- October 2020 | Fun Handwriting Activities, Overcoming Sensory Restrictive Environments, and Physical Prompting
- September 2020 | Mixed-Age Classrooms, Distance Learning, and Wood Pieces
- August 2020 | Pencil pressure, learning cursive, and hand strength
- July 2020 | Correcting grip, making handwriting fun, and leftie tips